Gardening Advice & Tips for Irish Gardeners
The last post dealt with transplanting carrots after thinning the carrot seedlings. What do you do with them if you don't want to eat the now? Well, you could always freeze them and enjoy them later in the year. This blog post will explain the process involved.
Carrots are ideal for freezing and the process is quite simple. The only difference between freezing carrots and say for example the likes of peppers and onions is that there is a step in the middle called blanching. This is an important step as the blanching process ensures that the carrots retain their flavour, texture, colour & nutrients over an extended period in the freezer. After completing the process below, you can expect your frozen carrots to keep in the freezer for up to 9 months.
A little about Blanching Carrots
All fruits and vegetables contain enzymes and bacteria that, over time, break down the destroy nutrients and change the colour, flavour, and texture of food during frozen storage. Carrots require a brief heat treatment, called blanching, in boiling water or steam, to destroy the enzymes before freezing. Blanch small whole carrots for 5 minutes, diced or sliced for 2 minutes and lengthwise strips for 2 minutes also.
The duration is intended to be just long enough to stop the action of the enzymes and kill the bacteria.
Ok so, that's all out of the way, we're ready to go.....
Step 1 - Pull your carrots
If your carrots are store bought or from the farmers market then you can probably skip this part and go to step2.
Pull the carrots from their bed. Ideally pull the larger ones, trying not to disturb the smaller ones beside them that you are going to leave in the ground a while longer. Once you have pulled enough, cut the green stalks off the carrots, a few mm below where the orange part of the carrot starts. You can thrown the stalks in your composter.
Step 2 - Peel & wash the carrots
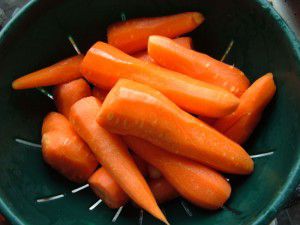
Back at the sink, peel all the carrots and give them a good wash.
Step 3 - Cut the carrots as desired
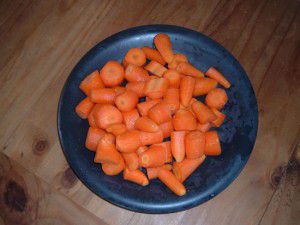
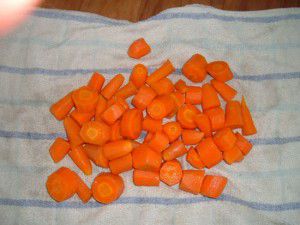
You can cut them into traditional slices, leave small ones whole or perhaps even lenghtways strips. It's up to yourself really but be aware that the sizes you cut them into will determine the length of the blanching process. Whatever way you go, do try to have the peices as uniform sized as possible relative to each other.
Step 4 - Blanching your carrots
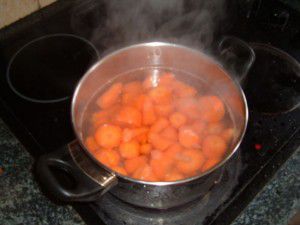
Have a pot of boiling water on the go and also have a another pot or sink full of ice cold water (adding ice cubes to the water is very helpful). Add the chopped carrots to the boiling water and make note of the time. Depending on the size of the chunks or slices, it will vary as to how long you should leave them in the boiling water. See rough guide above for idea. You can actually use the blanching water up to five times, adding a little more each time as it evaporates.
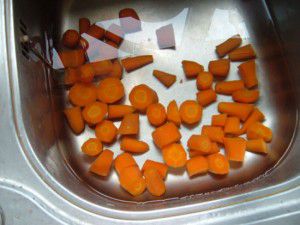
Once the allotted time is up, quicky remove from boiling water and place immediately in the ice cold water. The ice cold water is to cool the carrots down as quickly as possible and also to stop the cooking process. Roughly speaking, you should cool the carrots for as long as you blanched them. That generally seems to be a good rule of thumb.
Step 5 - Drying the carrots
Easy enough. I just place on a dry clean tea towel on the kitchen table and gather up all the ends of the towel and shake them dry.
Step 6 - Bagging the carrots
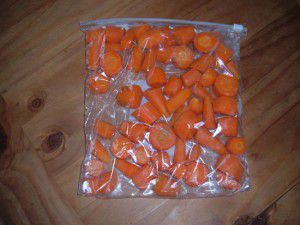
I usually use a zip locked freezer bag but there are other alternatives for this. I usually 30-50% fill the bags. I remove as much air from the bag before sealing. Once sealed, I arrange the carrots flat in the bag. This helps avoid sticking together and place in the freezer flat, without anything on top of the bag. Periodically over the next couple of hours while the freezing process takes hold, I open the freezer and give the bag of carrots a 'rustle around' which again in turn helps avoid sticking together.
That's it so, easy peasy. Just to note that it is always best to cook the carrots from frozen in meals like soups, stews, soups or just on their own etc.
One other thing I have noted over the years is that if you have a steamer, you should use it to cook the carrots. It keeps in much more flavour. If you don't have one and you are boiling them, my top tip is to keep the water you cooked the carrots in and use it to make gravy, that way, any flavour that has been lost through the cooking process will go straight in your belly via the gravy!!! Enjoy.

